Using New-MailboxExportRequest in Powershell

Exporting mailbox data to a .pst file is a common task for Exchange administrators, whether it's for backup purposes, legal compliance, or migrating data to another system.
However, it can be a bit challenging. One of the most efficient ways to do this in an Exchange environment is by using the New-MailboxExportRequest cmdlet in PowerShell.
In this article, we'll walk through the key steps and considerations for using New-MailboxExportRequest, making the process straightforward and accessible even for those new to PowerShell.
What is the New-MailboxExportRequest Command?
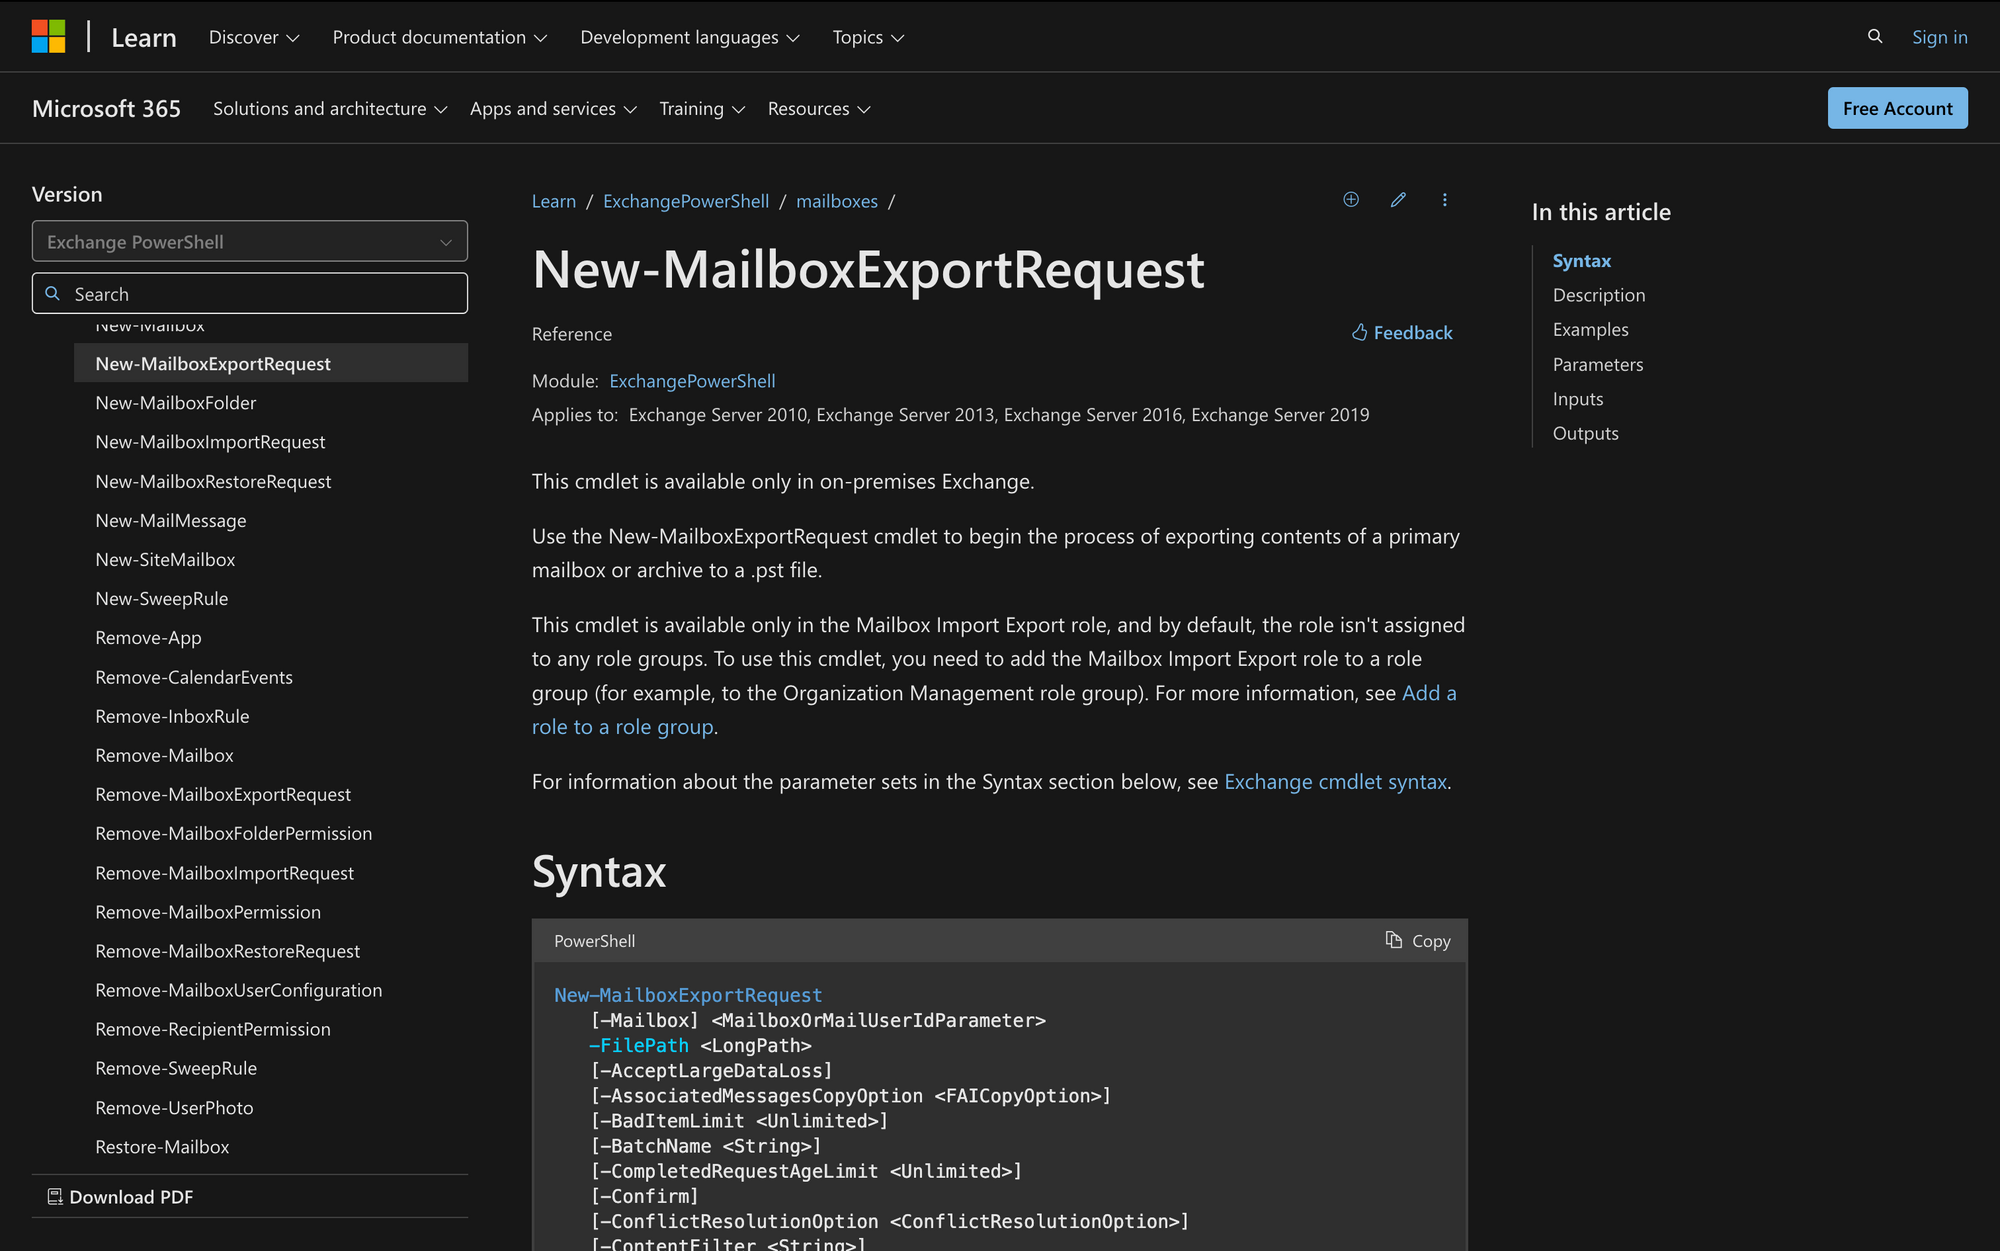
New-MailboxExportRequest is a PowerShell command used in Microsoft Exchange Server to export the contents of a mailbox to a .pst file.
This command is essential for tasks like backing up mailboxes, migrating data, or archiving emails outside the Exchange environment.
Administrators use this cmdlet to specify the mailbox and the destination path for the .pst file, allowing efficient data management within the Exchange infrastructure.
Here’s the syntax of New-MailboxExportRequest:
3 Use Cases for New-MailboxExportRequest
The New-MailboxExportRequest cmdlet can be used in various scenarios within an Exchange Server environment, including the following three:
- Backing Up Mailbox Data: Administrators can use this cmdlet to create backups of important mailboxes. For example, before an employee leaves an organization, their mailbox data can be exported to a .pst file. This ensures the organization retains access to emails, contacts, and calendar information, even after the mailbox is deactivated or deleted from the server.
- Mailbox Migration: When an organization is migrating mailboxes from one Exchange Server to another, or even to a different email system, the New-MailboxExportRequest cmdlet is useful. It allows administrators to export the entire contents of a mailbox to a .pst file, which can then be imported into the new server or system.
- Legal or Compliance Requirements: In some situations, organizations might be required to preserve mailbox data for legal or compliance reasons. For instance, during an internal investigation or in response to a legal hold, specific mailboxes may need to be exported to .pst files to maintain records of communications.
Prerequisites to Use the New-MailboxExportRequest PowerShell Command
To use the New-MailboxExportRequest cmdlet, you need to ensure the following 5 requisites are met:
- Permission Assignment: You need to have the necessary permissions assigned to your account to run the New-MailboxExportRequest cmdlet. Specifically, you need to be part of a role group that has the appropriate permissions, as not all parameters may be accessible without the correct role.
- Unique Name for Export Requests: If you create multiple export requests for the same mailbox, each request must have a unique name. Exchange can automatically generate up to 10 unique names for export requests. However, if you need to create more than 10 export requests, you'll have to manually specify a unique name for each new request.
- Granting Permissions to the Network Share: The group "Exchange Trusted Subsystem" must be granted the correct permissions on the network share where you plan to export the .pst files. Specifically, this group needs Read/Write permission to save exported .pst files to the share and Read permission to import .pst files from the share.
- Network Share Availability: The network share where you plan to store the exported .pst files must be accessible and properly configured. If Exchange is unable to establish a connection to the network share, you will encounter errors when trying to export the mailbox data.
- Ability to Remove Existing Export Requests: If there are existing export requests that you no longer need, it's important to remove them using the Remove-MailboxExportRequest cmdlet. This helps avoid confusion and ensures that you can create new export requests with the default or desired request names.
How to Use New-MailboxExportRequest in 3 Steps
Now that we know everything about how this cmdlet works, it’s time to learn how to use it.
Step 1: Connect to Exchange PowerShell
Before executing this command, we need to connect to the appropriate Exchange environment. For on-premises servers, use the Exchange Management Shell, and for cloud-based setups, use Exchange Online PowerShell. Start by opening PowerShell with administrative privileges, then enter:
You will be asked to provide your credentials after entering the command. Once authenticated, your session will be connected to the Exchange Online environment, and you'll be ready to proceed.
Step 2: Prepare a Folder to Save the .pst File
To prepare for using the New-MailboxExportRequest cmdlet, you need to have a network share (a folder on a network) where the exported .pst file will be stored.
As mentioned earlier, this folder must be accessible by the Exchange Server, and it should have the appropriate permissions set to allow the Exchange Trusted Subsystem group to read from and write to it.
According to Microsoft, the folder must be shared on the network, and the Exchange Trusted Subsystem group must be granted Read/Write permissions to ensure that the Exchange Server can save the exported .pst file there.
This setup is crucial to avoid permission errors and ensure the export process runs smoothly, so don’t skip this step.
Step 3: Run the New-MailboxExportRequest Cmdlet
Once everything is set up, you can export the mailbox to a .pst file. For a basic export, you can follow this example:
This command creates a request to export the mailbox data of "[email protected]" to a PST file located at "\MeetingRoomServer\MailboxExports\MailboxExport.pst".
Here’s another example:
This cmdlet creates a request to export only the contents of the "Inbox" folder from the "MeetingRoom" mailbox to a PST file at "\SERVER01\PSTFileShare\MeetingRoom\InPlaceHold.pst".
After initiating the export, you can monitor its progress using the following command:
The Get-MailboxExportRequest cmdlet provides details about the status of your export request, such as whether it's in progress, completed, or failed.
If an export request fails or you no longer need a request, remove it using:
In this case, the cmdlet deletes a specific mailbox export request identified by "ExportRequest Name."
Using the New-MailboxExportRequest cmdlet in PowerShell is a powerful way to manage mailbox exports in an Exchange environment, offering flexibility and control over how data is handled. By following the correct procedures and understanding the necessary permissions and setup, administrators can efficiently back up, migrate, or archive mailbox data with confidence