How to Use Remove-MailboxPermission in Powershell

Managing mailbox permissions in Exchange is something every admin will have to handle sooner or later. Perhaps an employee has left, a shared mailbox is being restructured, or a user no longer needs access.
Whatever the reason, you don’t want to leave unnecessary permissions lingering. That’s where the Remove-MailboxPermission cmdlet comes in—it lets you clean up mailbox access quickly and efficiently.
In this guide, we’re going to walk through exactly how to use Remove-MailboxPermission the right way, from checking existing access to making sure your changes actually stick. Let’s get to it!
What is Remove-MailboxPermission in PowerShell?
Remove-MailboxPermission is a PowerShell cmdlet used in Exchange Server and Exchange Online to revoke access permissions from a user's mailbox. It lets administrators remove specific permissions that were previously granted, such as Full Access, Send As, or Send on Behalf.
The cmdlet requires you to specify the target mailbox and the user whose permissions should be removed, along with the -AccessRights parameter to define which permissions to revoke.
Here’s what you can do with the Remove-MailboxPermission command:
- Revoke full access: Take away a user's full access to another mailbox, preventing them from opening, reading, or managing it.
- Remove Send As permission: Stop a user from sending emails as if they were the mailbox owner.
- Clean up unnecessary permissions: Strip outdated or incorrect permissions to keep mailbox access under control.
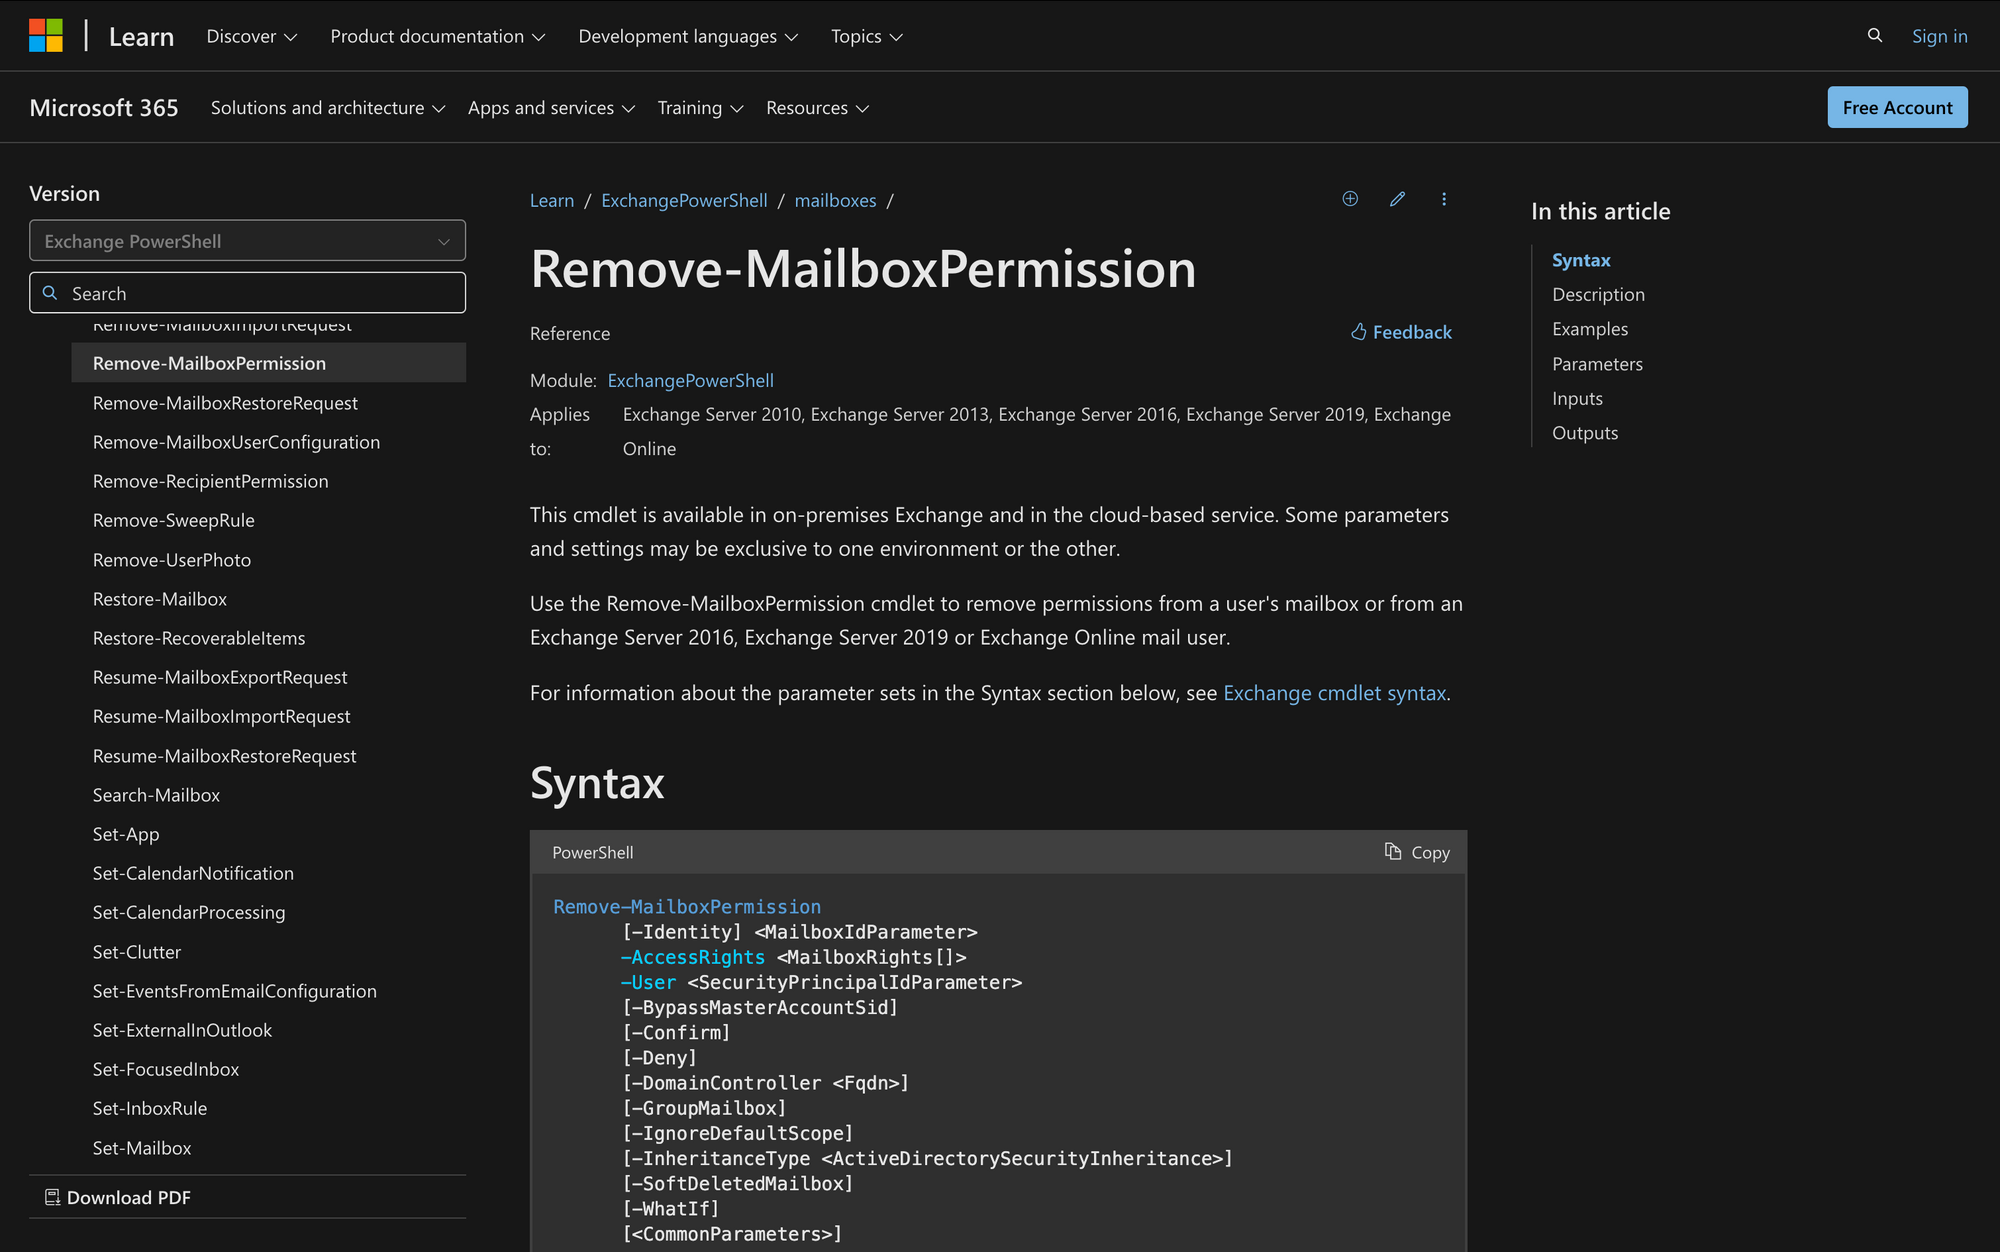
Here is the syntax of Remove-MailboxPermission:
Remove-MailboxPermission vs. Remove-MailboxFolderPermission
Remove-MailboxPermission and Remove-MailboxFolderPermission are both used to remove access permissions in Exchange, and although they are similar, they serve different purposes:
- Remove-MailboxPermission is used to remove permissions at the mailbox level. If a user has Full Access, Send As, or other broad permissions to an entire mailbox, this cmdlet removes them. It’s typically used for administrative tasks like restricting access when an employee leaves or when permissions were granted incorrectly.
- Remove-MailboxFolderPermission, on the other hand, operates at the folder level inside a mailbox. It removes access to specific folders like Inbox, Calendar, or Contacts. This is useful when adjusting permissions for shared resources without affecting the entire mailbox.
Prerequisites to Run the Remove-MailboxPermission Cmdlet
To use the Remove-MailboxPermission cmdlet in PowerShell, you need to meet the following prerequisites:
- Exchange Environment: You need to be running Exchange Server 2010, 2013, 2016, 2019, or Exchange Online.
- Exchange Management Tools: The PowerShell session must be connected to an Exchange environment (on-premises or Exchange Online PowerShell).
- Permissions: The cmdlet requires the "Mailbox Permissions" role assigned in Exchange. For Exchange Online, the role must be part of a custom role group since it’s not assigned by default.
- Mailbox Identity: You need the email address, UPN, alias, or distinguished name of the target mailbox.
- User or Security Principal: You also need the specific user or security group whose permissions you want to remove.
- Proper Scope: For on-premises Exchange, the account running the command must have administrative rights over the affected mailbox.
How to Use Remove-MailboxPermission in PowerShell
Using Remove-MailboxPermission is straightforward–let’s go through it in four quick steps.
Step 1: Connect to Exchange PowerShell
Before you start tweaking permissions, you need to get connected to your Exchange environment.
Open PowerShell with administrator privileges and run the following command:
This connects you to your cloud environment, allowing you to execute commands remotely.
Step 2: Identify the Mailbox and Check Existing Permissions
Before making any changes, it’s important to know exactly what you’re dealing with. You’ll want to identify both the mailbox you want to modify and the user (or group) whose permissions you’re planning to remove.
Use the following command to see who currently has access:
This command lists all the permissions for the mailbox. Look through the output and note the specific access rights assigned to the user you plan to remove (like FullAccess, SendAs, etc.).
This careful check helps avoid mistakes—especially important in busy environments where multiple people might have overlapping permissions.
Step 3: Remove the Mailbox Permissions by Running Remove-MailboxPermission
Now that you know which mailbox and user you’re targeting, it’s time to remove the permissions.
To remove a specific permission (for example, FullAccess) from a user, use:
Here’s what each part does:
- -Identity: Specifies the mailbox whose permissions are being modified.
- -User: Identifies the user whose permission is being revoked.
- -AccessRights: Indicates the exact permission to remove (in this case, FullAccess).
- -Confirm:$false: Automatically confirms the action so you’re not prompted each time.
If you need to remove all permissions for that user on the mailbox, simply drop the -AccessRights parameter:
This command is powerful—so double-check your parameters before pressing Enter. It’s a good practice to always run these commands in a test environment first if you’re not 100% sure.
Step 4: Verify the Changes
After running the removal command, verifying that the permission has indeed been removed is essential. To do this, run the Get-MailboxPermission command again:
If you see no output related to that user, it means the permissions have been successfully revoked. This step helps you catch any issues immediately, saving time and ensuring that your changes take effect.
Keeping mailbox permissions in check is essential for security, compliance, and making sure only the right people have access.
The Remove-MailboxPermission cmdlet makes it easy to revoke access, but only if you know exactly what you’re removing and why. Always double-check existing permissions before making changes, and verify that the removal was successful to avoid surprises later.
Now that you know how to use Remove-MailboxPermission effectively, you can keep your Exchange environment locked down and running smoothly.