How to Use New-MailboxExportRequest in Powershell

Data management on Microsoft Exchange Servers is a key skill that all administrators need to have to manage operations and ensure mailbox integrity.
One powerful tool within the Exchange Management Shell arsenal is the New-MailboxExportRequest cmdlet, which opens up a world of possibilities for exporting mailbox data efficiently, be it for backup, migration, or compliance purposes.
In today's comprehensive blog post, we'll learn how to use New-MailboxExportRequest so you can use this command's functionalities with confidence.
What is The New-MailboxExportRequest Cmdlet?
The "New-MailboxExportRequest" cmdlet is a command in Microsoft Exchange Server that is used for mailbox export operations.
Specifically, this cmdlet is used in the process of exporting mailbox data from Exchange mailboxes to a .pst file.
This .pst file can then be used for various purposes, such as backup, archiving, or migrating mailbox data to another system.
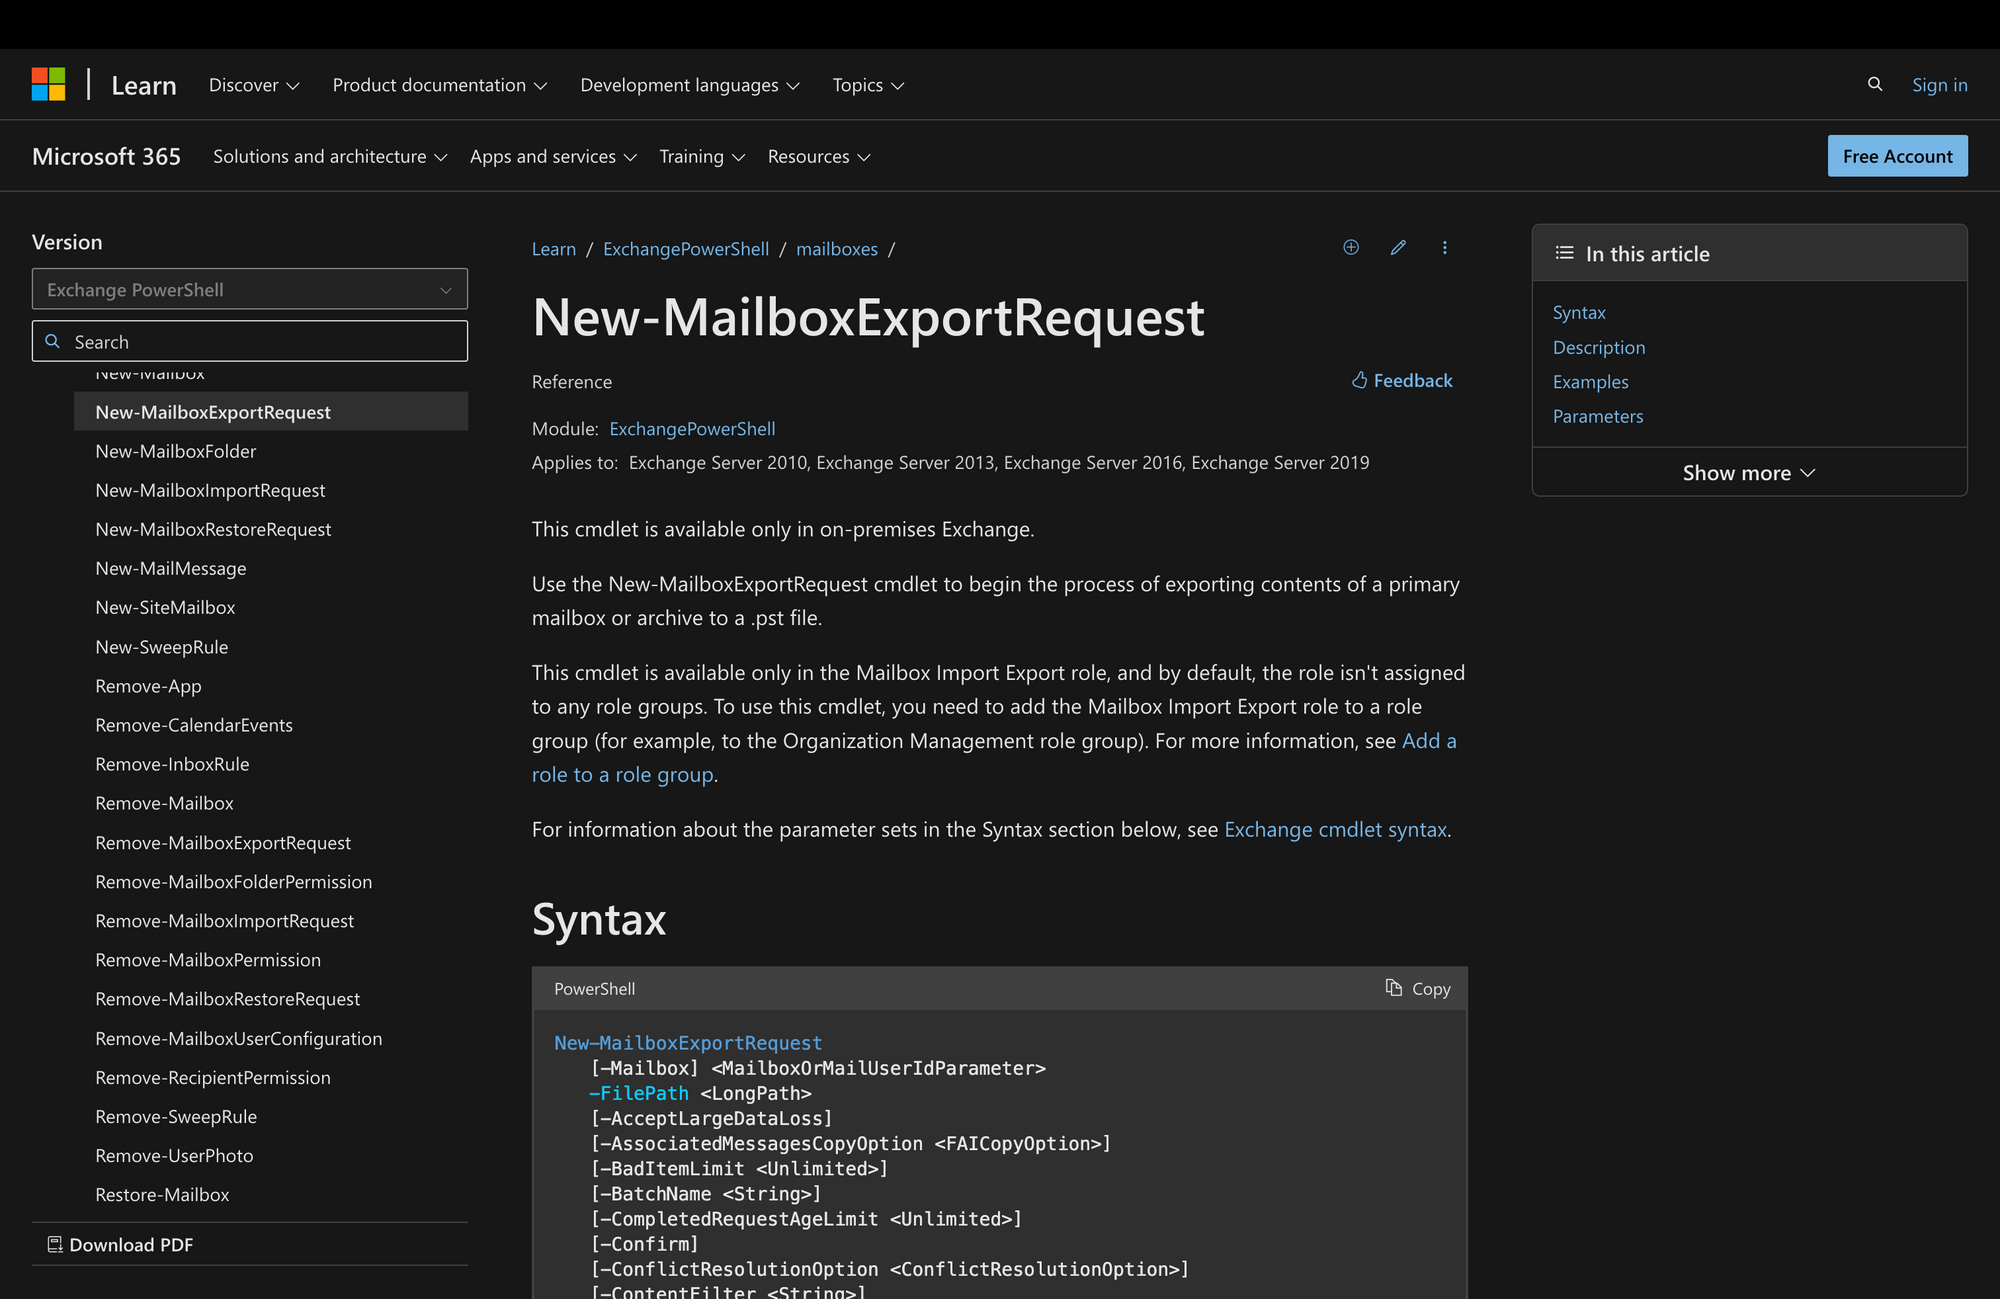
The syntax of the New-MailboxExportRequest PowerShell command is as follows:
New-MailboxRestoreRequest vs. New-MailboxExportRequest
Both the New-MailboxRestoreRequest and New-MailboxExportRequest cmdlets are related to mailbox management in Microsoft Exchange Server.
However, they serve different purposes in terms of data movement and recovery, as we can see in the following table:
What Can You Use New-MailboxExportRequest Command For?
The New-MailboxExportRequest command in Microsoft Exchange Server can be used for various purposes related to managing mailbox data, such as the following use cases:
- Data Backup: Create backups of mailbox data by exporting it to a .pst file, providing protection against accidental data loss or corruption.
- Archiving Mailbox Content: Export mailbox content to .pst files for long-term storage, ensuring compliance with data retention policies and supporting efficient archiving practices.
- Migration to Another System: Facilitate mailbox data migration during transitions between Exchange Servers or to different email platforms by exporting data to .pst files.
- Selective Data Transfer: Selectively export individual mailboxes or specific folders to .pst files, allowing for tailored and organized data transfers based on organizational needs.
- Investigation and Compliance: Use the command to export relevant mailbox data for compliance, legal inquiries, or internal investigations, ensuring a structured approach to managing required data.
Prerequisites to Run New Mailbox Export Request in PowerShell
Before running the New-MailboxExportRequest comment, it's important to comply with the following prerequisites:
- Execution Permission: First, you need to be assigned the appropriate execution permission for mailbox export operations. The specific permission details can be obtained by referring to your organization's Exchange permissions documentation.
- Read Permission for PST Import: To import PST files using this cmdlet, you need to grant the Exchange Trusted Subsystem group read permission on the network share where the PST files are stored. This permission ensures that Exchange can access and read the PST files during the import process.
- Read/Write Permission for PST Export: When exporting mailbox data to PST files, the Exchange Trusted Subsystem group requires both read and write permissions on the network share where the exported PST files will be saved. Granting read/write permission ensures that Exchange can both retrieve data from and save data to the specified network share.
How to Use New-MailboxExportRequest
Now that we know what the New-MailboxExportRequest command is for, it's time to learn how to use it.
Step 1: Connect to Exchange Online PowerShell
To get started, connect to Exchange Online PowerShell by running the following command:
Enter your Microsoft credentials, log into your organization’s environment, and get ready to follow the next steps.
Remember to ensure that you have the required permissions to run the cmdlet - otherwise, error messages will pop up.
Step 2: Use Get-MailboxExportRequest
According to Microsoft, you can use the Get-MailboxExportRequest cmdlet to view the status of an ongoing export request that was initiated by using the New-MailboxExportRequest cmdlet:
This way, it's possible to prevent disruptions in the export process by closely monitoring the progress and ensuring the successful completion of the export request.
Step 3: Run the New-MailboxExportRequest Command
Next, identify the mailbox from which you want to export data, and make sure to specify the correct path - this can be a local path or a network share.
Then, get ready to run the New-MailboxExportRequest command. Take a look at the following example:
In this case, the command exports messages that contain the words "marketing" in the body of the message for the user James received before January 1, 2024.
Now, it's also possible to simplify the mailbox export process like this:
Here, the output of the command exports James's primary user mailbox to a .pst file on the network-shared folder PSTFileShare on MEETINGROOM01.
Wrapping Up: Using the New-MailboxExportRequest Cmdlet
Mastering the use of the New-MailboxExportRequest cmdlet is a critical skill for Exchange administrators, as it serves as a versatile tool for various tasks, from data backup to migration.
Before running this command, consider the following three tips:
- Before using the New-MailboxExportRequest command, make sure that you have the necessary execution permission for mailbox export operations, as specified in your organization's Exchange permissions documentation.
- We highly recommend you leverage the Get-MailboxExportRequest cmdlet to regularly check the status of ongoing export requests before starting new processes.
- When executing the New-MailboxExportRequest command, don't forget to accurately specify the source mailbox and the destination path. Make sure that the provided parameters align with your intended export requirements to avoid errors and streamline the export process effectively.

